“Momento“
The Persistence of Memory
INTRODUCTION
Momento is an AR Memory Capsule designed to preserve and visualize personal moments in an interactive and immersive way. This project aims to explore how Augmented Reality can enhance the way we store and recall memories, creating a deeper emotional connection between past experiences and the present. In a world where digital content is often fleeting and easily lost, Momento offers a more meaningful and lasting way to engage with personal histories. By using AR technology, users can place, revisit, and interact with their memories in a spatial environment, transforming nostalgia into a tangible and dynamic experience.
MADE WITH


PROJECT TIMELINE
Week 1-2: Project Planning and Ideation
Establish clear project objectives, identify the target audience, and outline the scope of the AR experience.
Investigate potential AR development platforms, focusing on Unity and Vuforia, to determine the best fit for the project needs.
Decide on the types of souvenirs (e.g., magnets, postcards) that will trigger AR experiences.
Week 3: Software Selection and Learning
Select Unity as the primary AR development platform after evaluating its capabilities against project needs.
Begin learning Blender to create detailed 3D models and animations essential for AR triggers.
Week 4: Initial Prototyping
Develop placeholders for AR triggers and set up basic animations.
Implement and test AR functionality using sample markers such as QR codes or images to ensure system responsiveness.
Week 5: Midterm - Testing AR Functionality
Enhance and test animations triggered by scanning the predetermined markers.
Attempt to build the test code for the iOS system; identify and troubleshoot any issues encountered, leading to considerations for platform adjustments due to hardware limitations.
Week 2
Postcard designs
Begin sourcing references for 3D modeling and photo concepts
Week 3
Finish drawing all postcard designs
Send postcards to print (allow 1–2 weeks for turnaround)
Begin rough 2D animation (animatic or motion sketch)
Week 4-5
Continue and finish 2D animation
Import 2D animation into AR software and make them interactive
Refine based on the critics
Week 6: Refinement and Feedback Integration
Collect and analyze feedback from the midterm presentation to identify crucial areas for improvement.
Adjust code and enhance AR functionality to address specific critiques received.
Experiment with three.js and AR.js as potential alternatives for enhanced AR experiences.
Week 7: Platform Transition and Design Development
Transition to the Kivicube platform following the feedback and hardware compatibility issues.
Outline detailed designs for AR triggers, focusing on magnets, and plan the visual effects to be associated with each.
Week 8: Finalizing Designs and Models
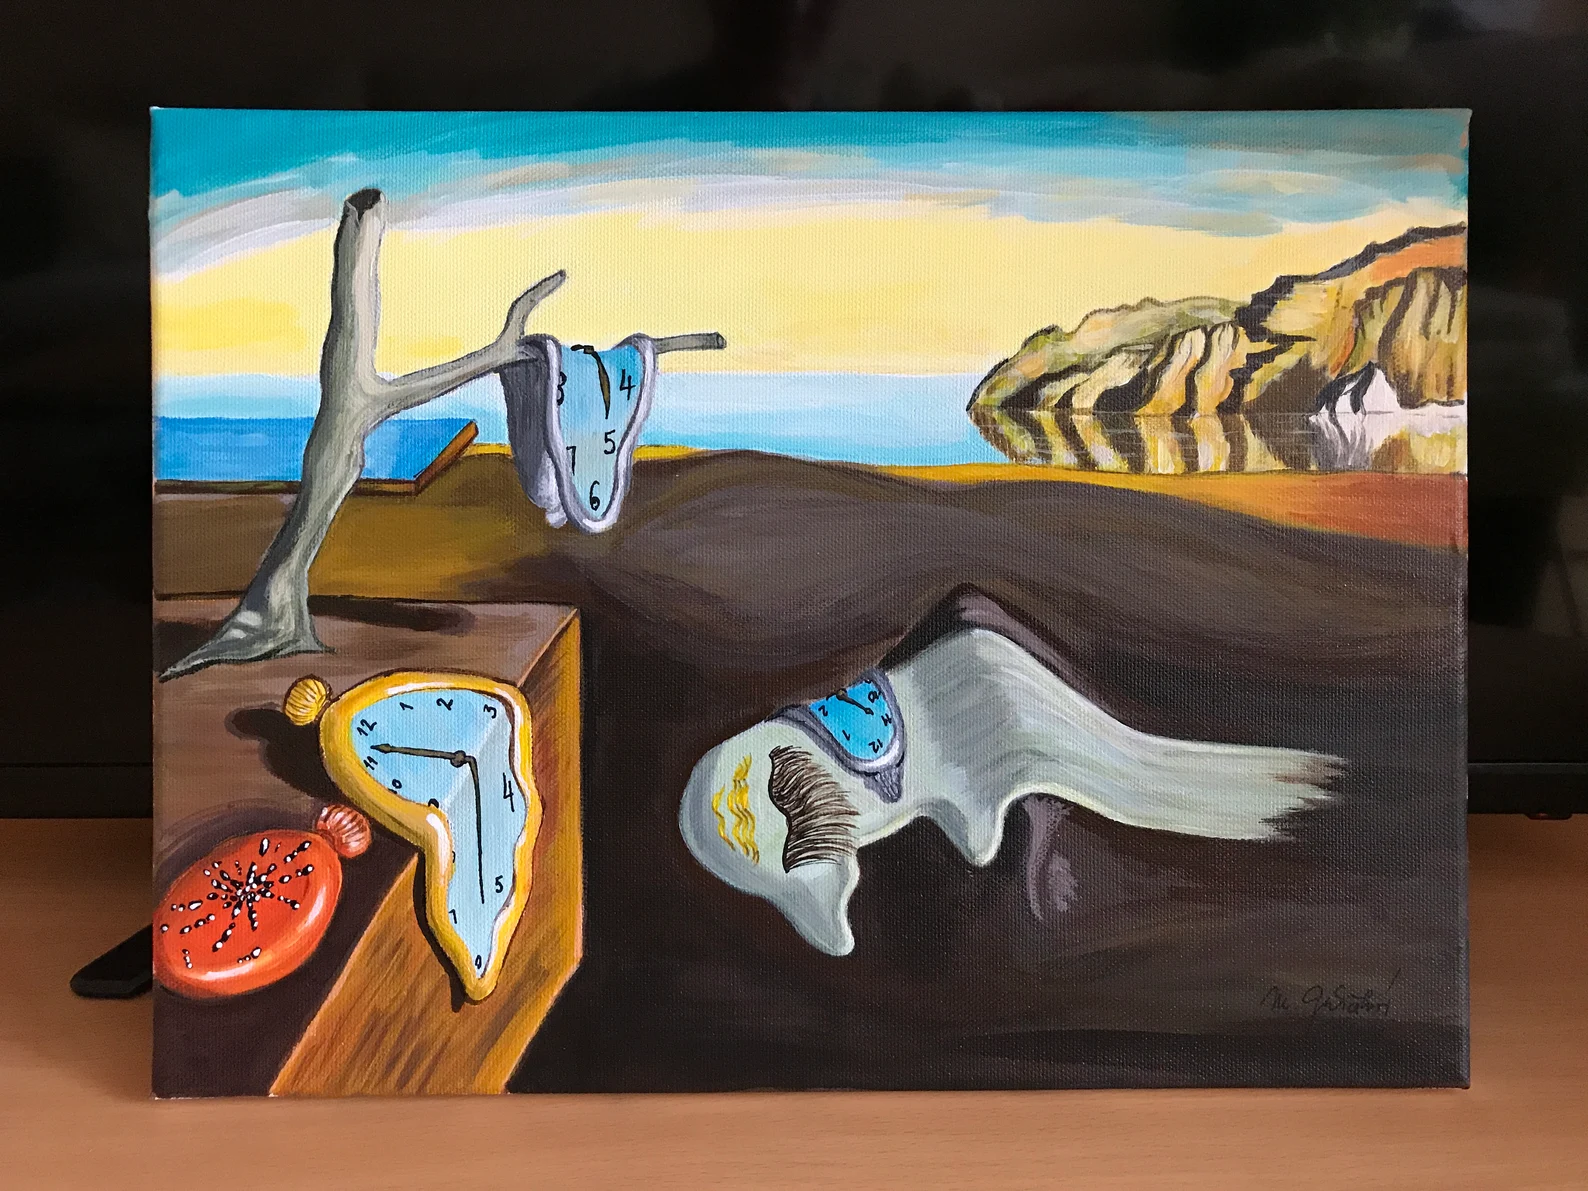
Use Blender to create polished 3D animations and models based on the selected souvenirs.
Utilize Procreate for further drawing and animating details to add depth to the AR experiences.
Week 9-10: Final - Prototype Presentation
Prepare and present a demo of the basic prototype (1-2 references)
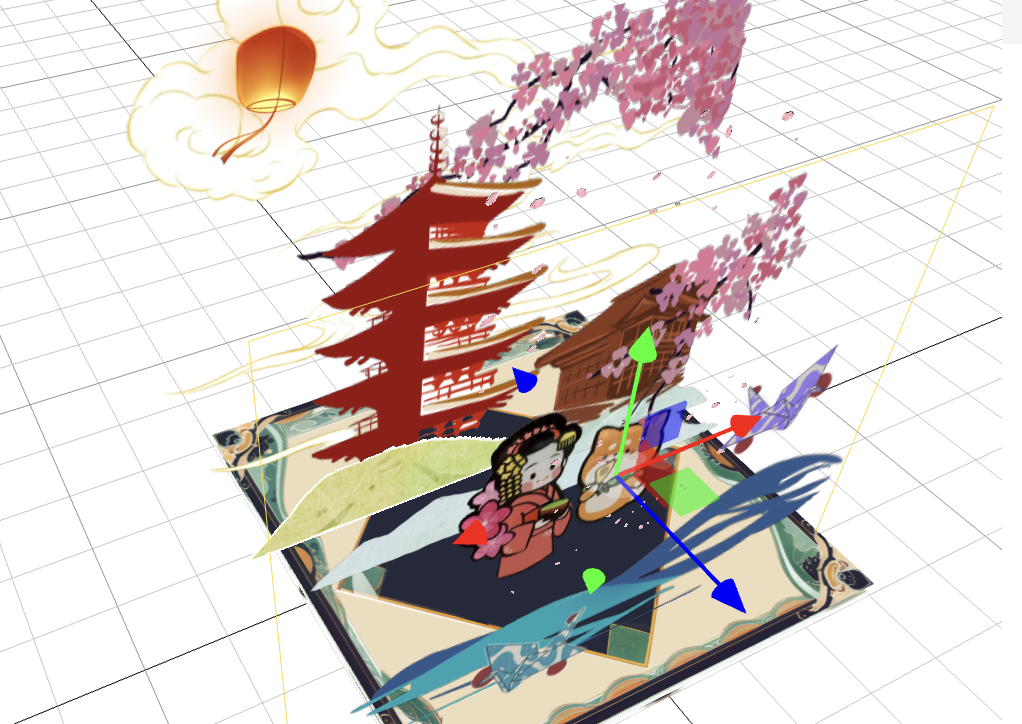
Demonstrate AR functionality when the camera scans a souvenir.
Week 6-7
Start 3D modeling (model + textures)
Complete 3D models and import them into AR software and make them interactive
Test the interaction and refine functionality based on critiques and peer feedback
Finalize animation timing, transitions, and user experience flow
Week 8
Debug and troubleshoot the AR experience across devices
Ensure the project is fully functional, both digital and physical components
Purchase and gather all materials needed for the final exhibition
Week 9
Final presentation and website final touch up
Ready to set up the final exhibition
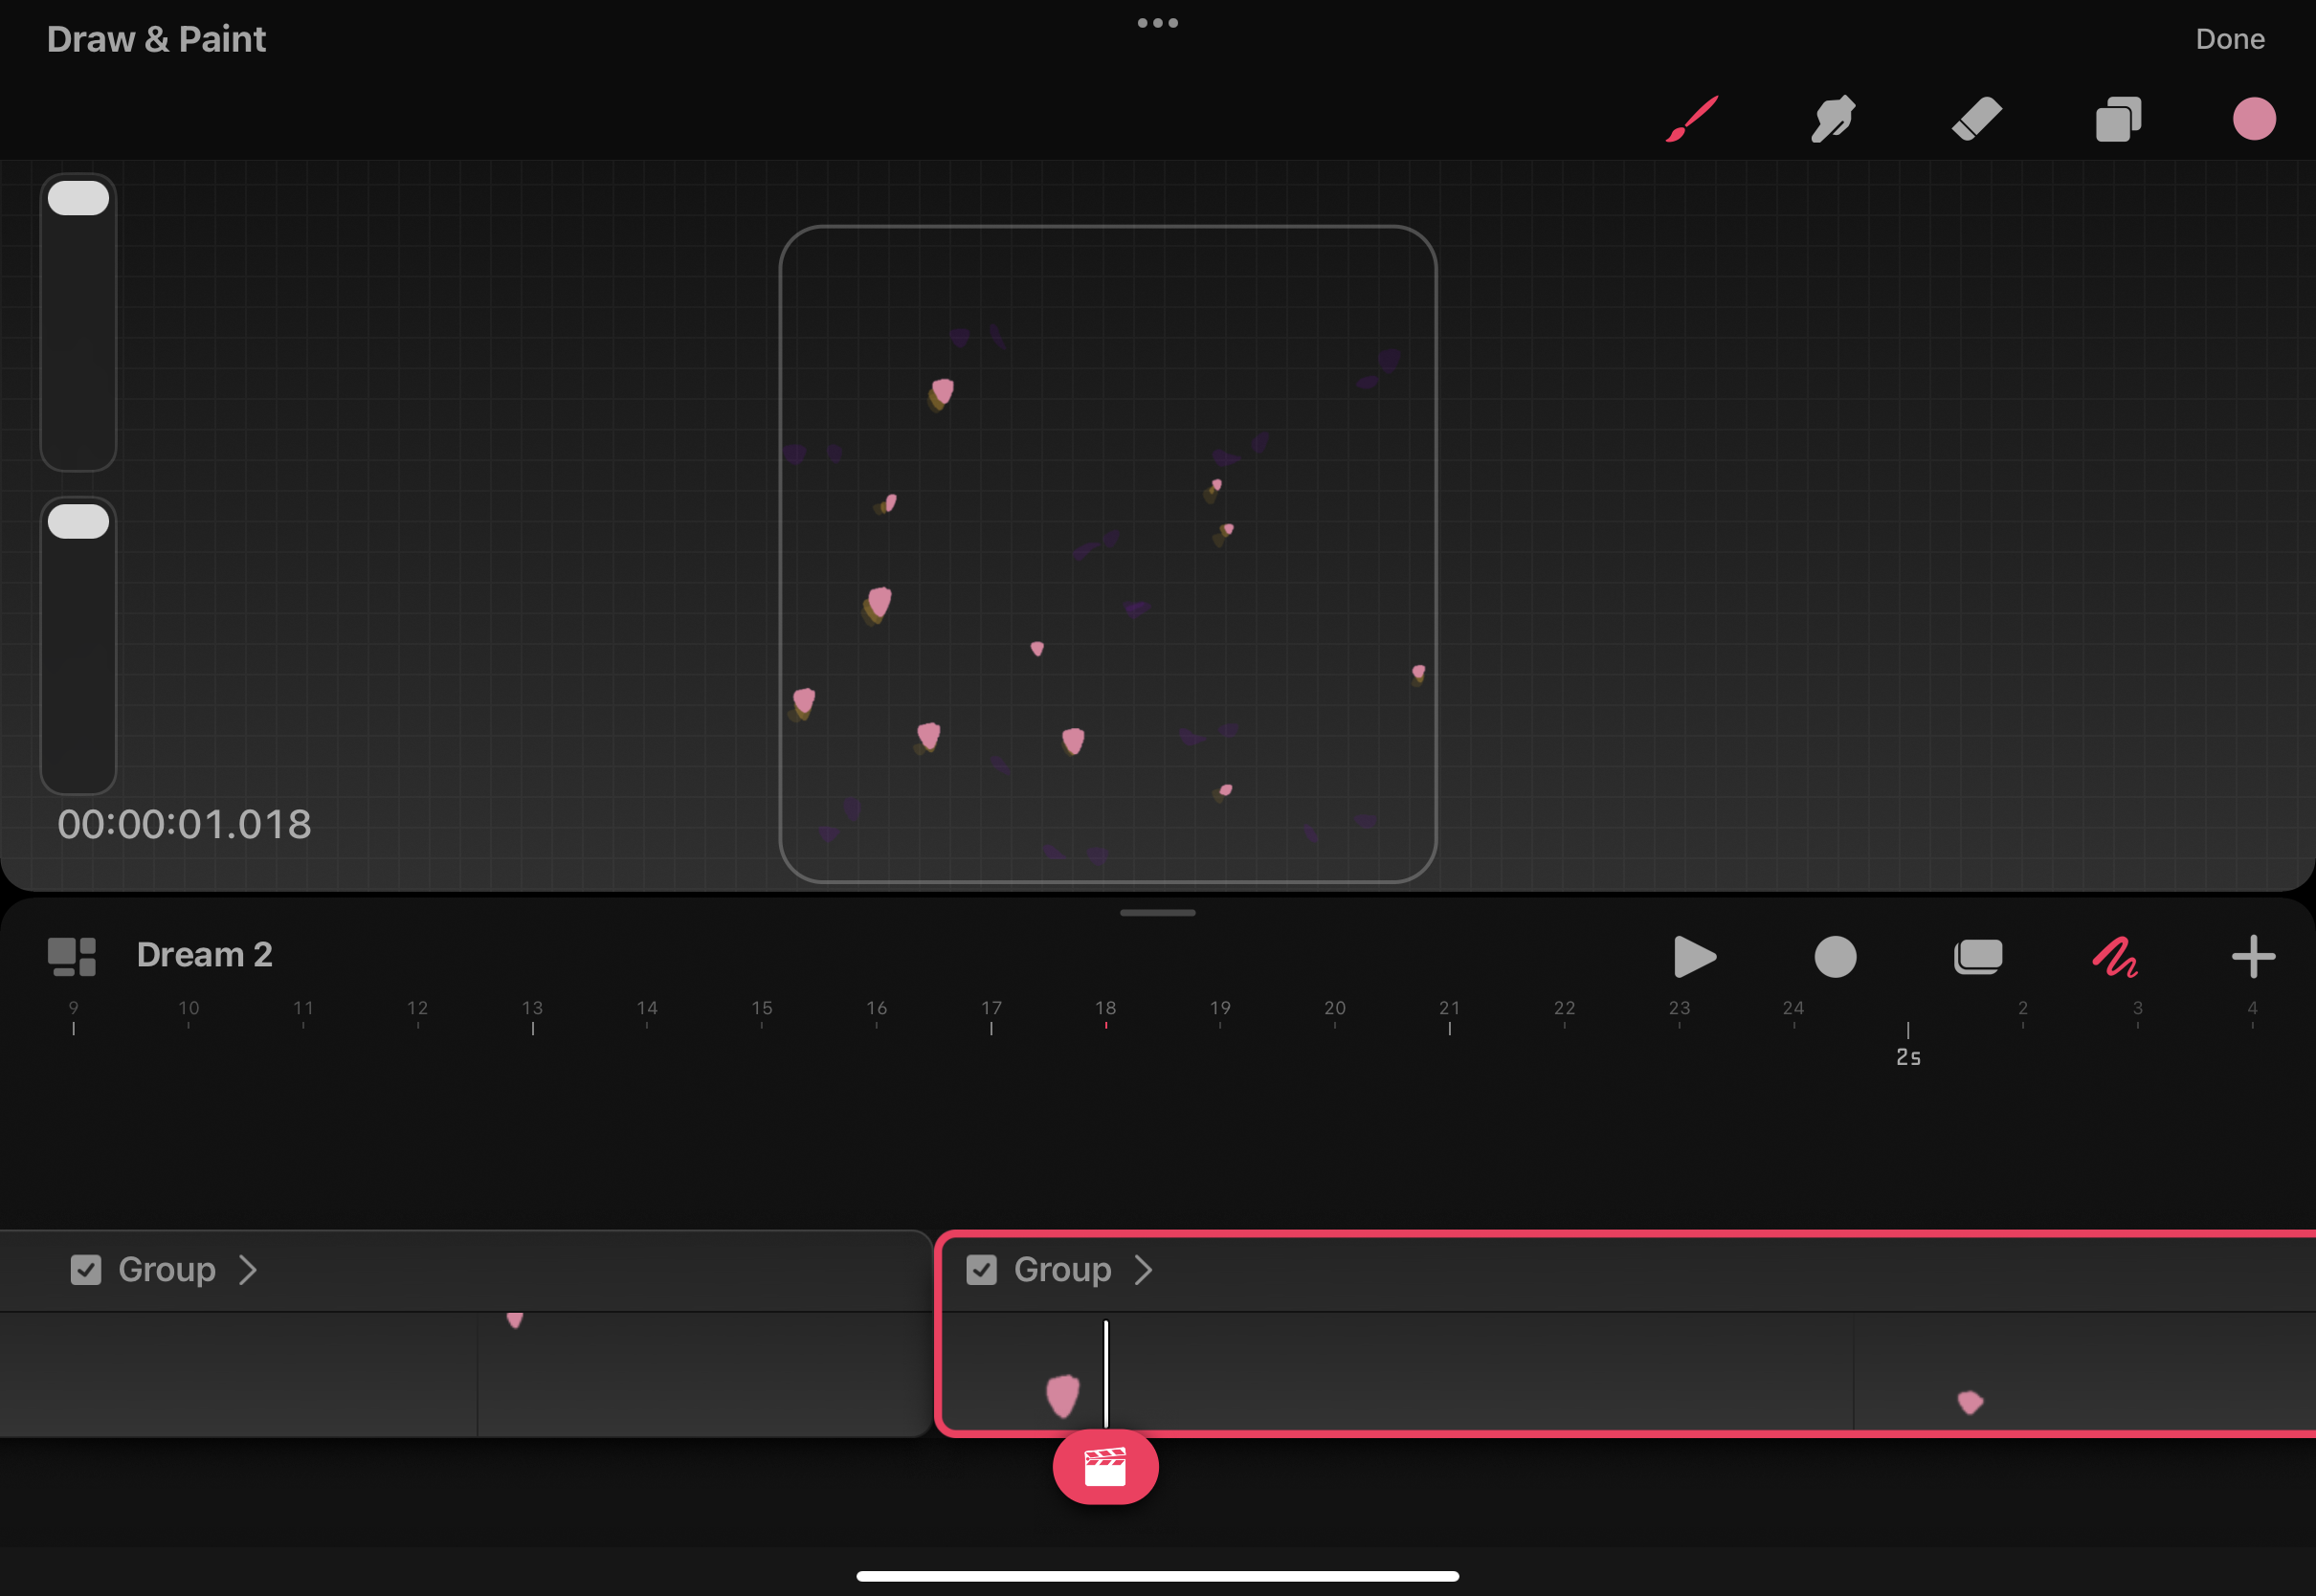
Unity
Code Sandbox
AR but no image tracking
Kivicube
Working Prototype

PROJECT PROGRESS
Phase 1

Phase 2
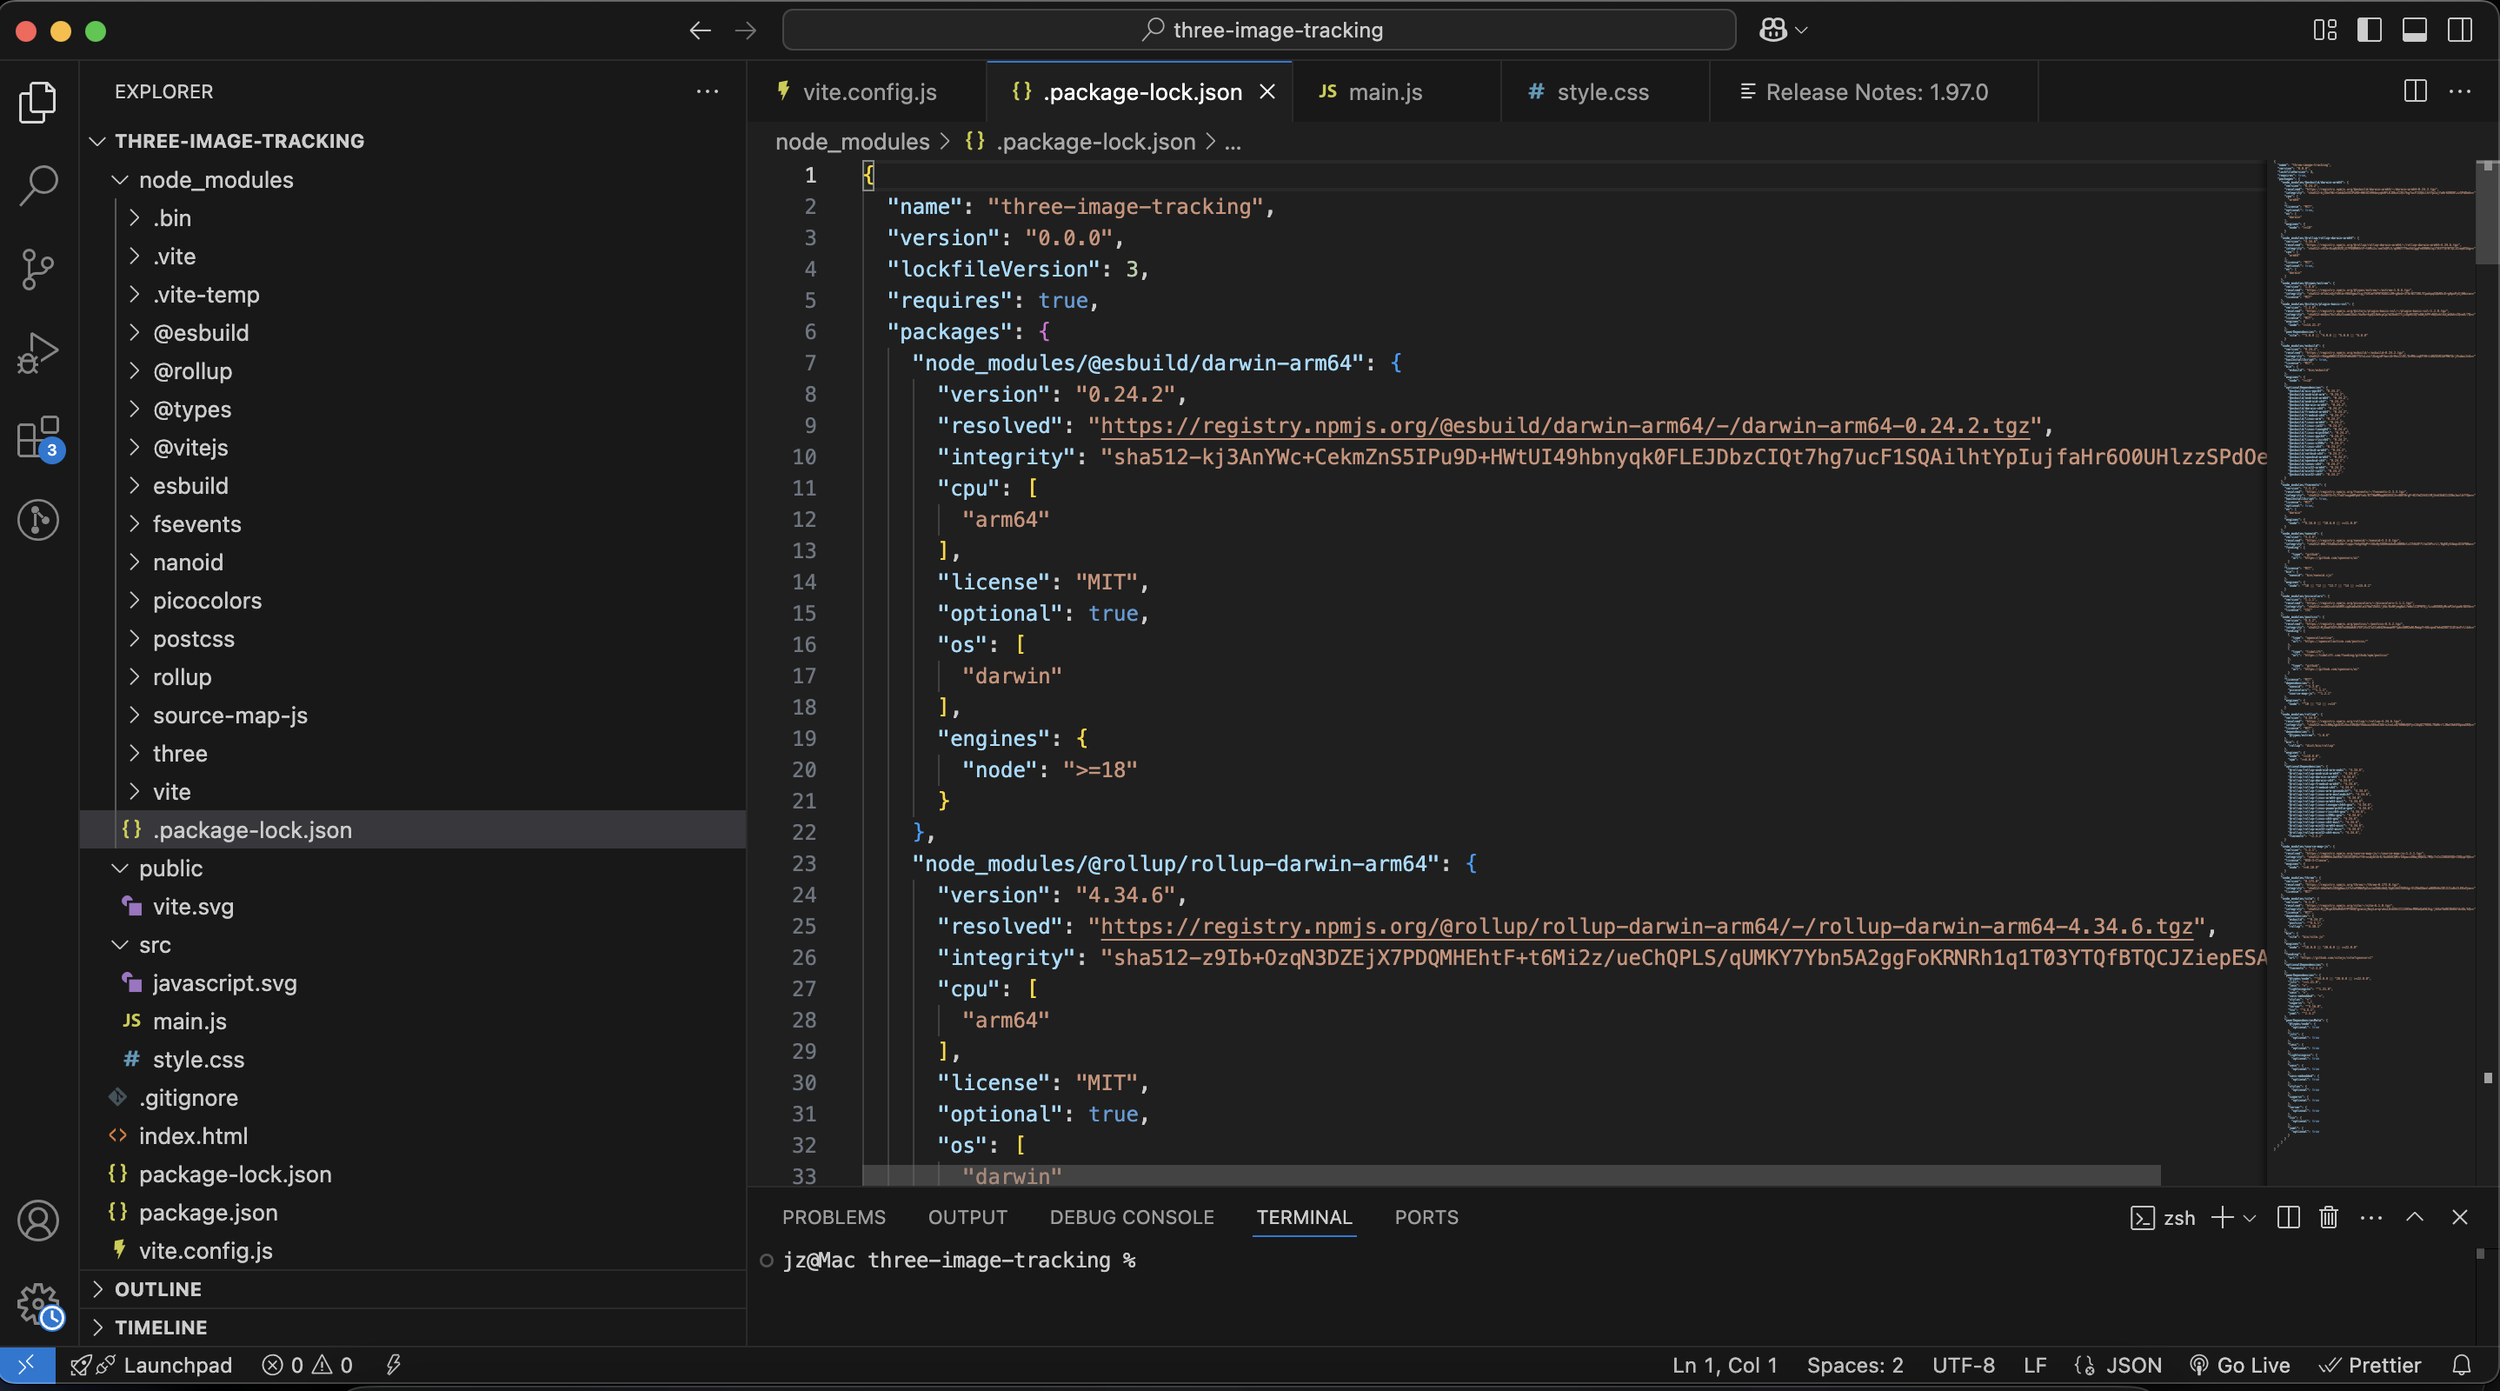
three.js
ar.js
Adobe Aero
Procreate
Procreate Dream